Intellerator Configuration Guide
This guide provides step-by-step instructions for configuring Intellerator dashboard after template app installation. Each section includes detailed steps to help users manage various aspects of their Power BI environment.
Adding New Users to the App
To share Intellerator with users in your organisation, you need to grant them access through the app permissions:
- Navigate to the Power BI Service home page
- Locate the workspace with the same name as your app and select it
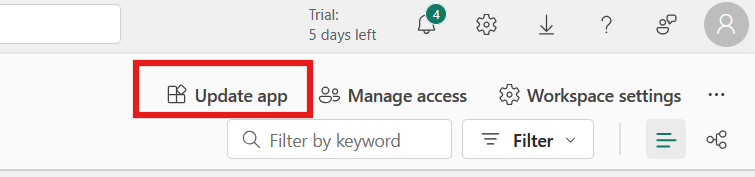
- In the top right corner, click "Update app"
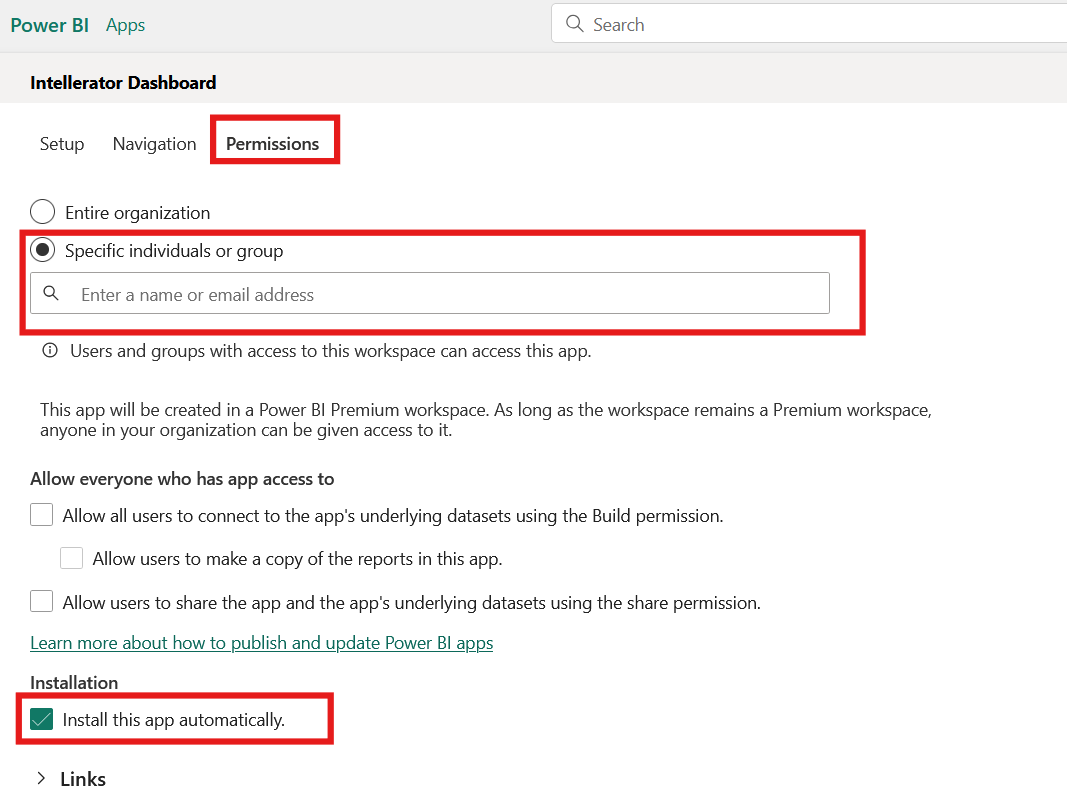
- In the left sidebar, select the "Permissions" tab
- Under "Specific individuals or group" option, use the search bar to find and add the users you want to share the app with
- Check the option "Install this app automatically" - this will automatically install the app for the users you grant access to, removing the need for them to manually find and install the app
- Click "Update app" to save your changes
- Copy App link and share with the users
Adding Users to the Workspace
For users who need to manage the dashboard content, you'll need to add them to the workspace itself:
- Open the Power BI Service and navigate to your workspace
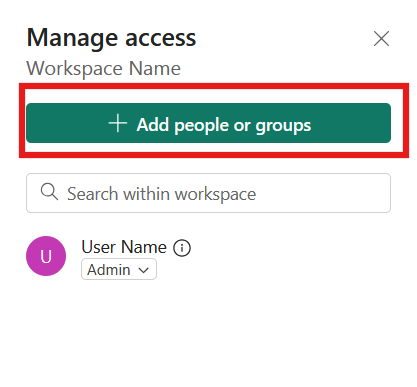
- In the top right corner of the workspace, click "Manage Access"

- Click "Add people or groups"
- Enter the name or email ID of the people you want to give access to
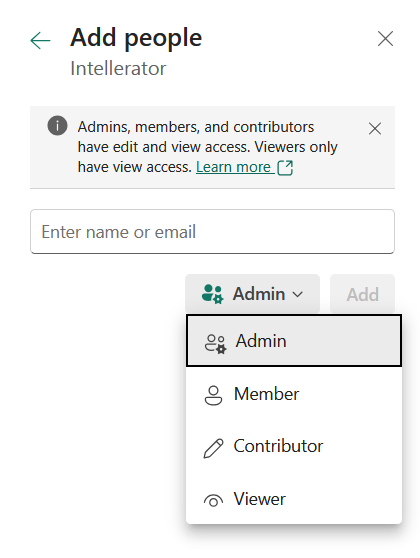
- Select the appropriate role for each user:
- Admin: Full control including workspace settings and user management
- Member: Can add content and manage workspace items
- Contributor: Can add and edit content but cannot manage workspace settings
- Viewer: Read-only access to workspace content
- Click "Add" to grant access
Accessing the Semantic Model for Refresh
From Dashboard Using Workspace Lineage
- Open your Power BI dashboard
- Look for the "Open Workspace Lineage" option in the workspace
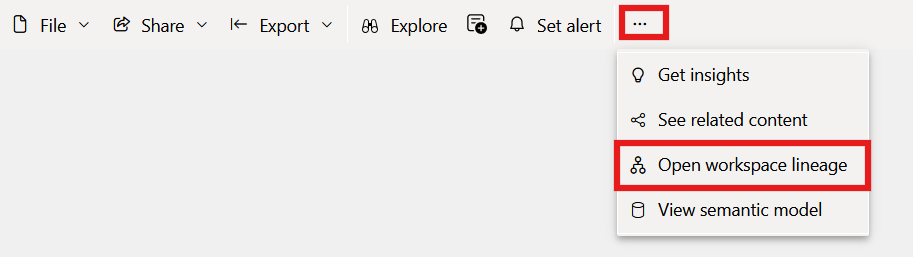
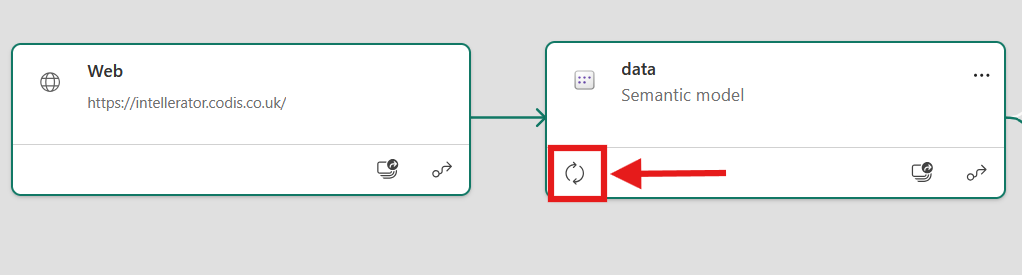
- This will show you the relationship between your reports and semantic models
- Click on the refresh options
Directly from Workspace
- Navigate to your workspace in the Power BI Service
- Look for the semantic model in the workspace content list
- Hover over the semantic model - three icons will appear
- Click the circular arrow icon for manual refresh
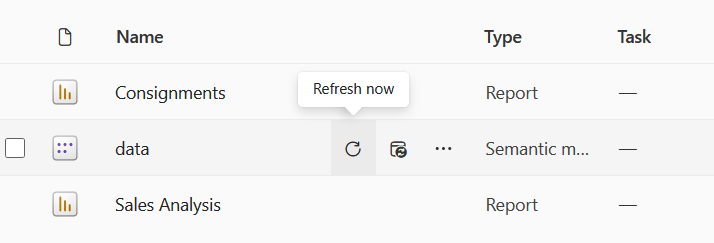
- Alternatively, click on the semantic model name to access detailed settings including scheduled refresh options
Important: Only users with appropriate permissions can refresh semantic models. You may need Contributor or Member level access to perform refreshes.
Implementing Row-Level Security (RLS)
Row-Level Security restricts data access for users based on their roles and ensures sensitive data is only accessible to authorized personnel:
Setting Up RLS
- Navigate to your workspace in Power BI
- Hover over semantic mode - three icons will appear
- Click on 3 dots and select Security
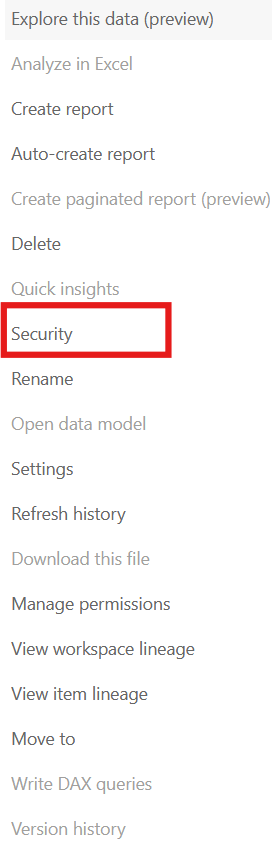
- Add users to their respective groups
Important Notes:
- RLS only restricts data access for users with Viewer permissions - it doesn't apply to Admins, Members, or Contributors
- Users can belong to multiple roles, and the permissions are additive
Taking Over Semantic Model
When you need to take control of a semantic model (for example, when the original owner is unavailable), follow these steps:
- Log in to Power BI Service
- Navigate to "Workspaces" and select the specific workspace
- Locate the semantic model and click on "Settings"
- Look for the "Take over" button (usually a prominent green button)
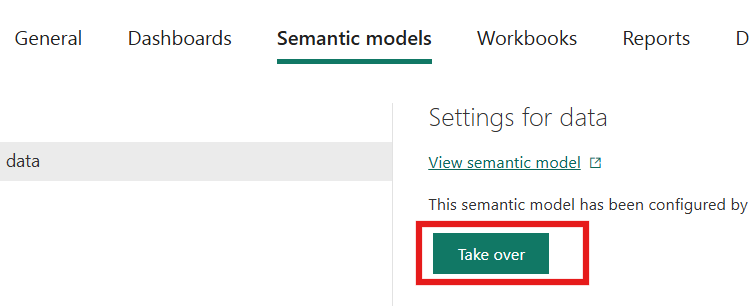
- Click "Take over" to assume control
-
Re-authenticate your credentials:
- After taking control, you must re-enter connection details
- Select "Edit Credentials" and follow the prompts
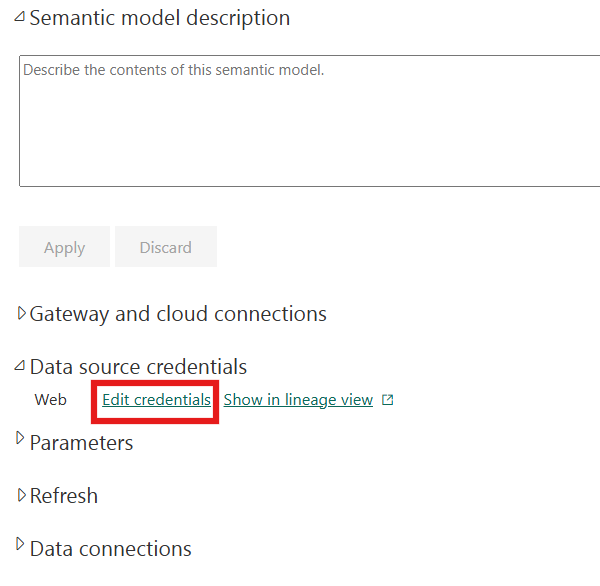
- Enter the username and password received from Codis
Important: Taking over a semantic model doesn't reset parameters, but you will need to re-configure connection details and credentials.